

Content Summary
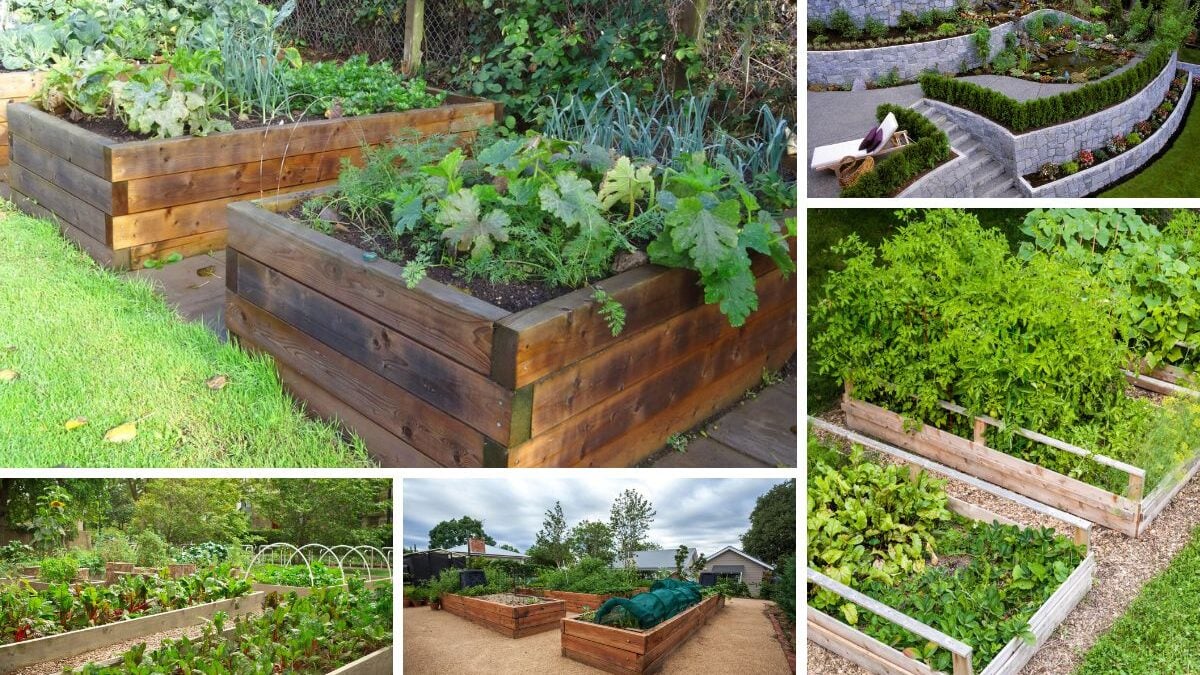
Raised bed gardens offer numerous advantages for gardening enthusiasts, from improved soil drainage to easier access and better pest control. If you're looking to create a productive and aesthetically pleasing garden, building a raised bed is an excellent option.
In this article, we will provide a step-by-step guide on how to build a raised bed garden, explore the pros and cons of this gardening method, and discuss the level of woodworking skills required for the project.
Building a Raised Bed Garden: Step-by-Step Guide
Choose the Location: Select a suitable location for your raised bed garden. Consider factors such as sunlight exposure, accessibility, and proximity to a water source. Ensure the area receives at least six to eight hours of sunlight per day for optimal plant growth.
Determine the Size and Shape: Decide on the dimensions and shape of your raised bed. A common recommendation is a width of 3 to 4 feet, allowing easy access from both sides without stepping on the soil. The length can vary depending on the available space and your gardening needs.
Gather Materials: Collect the necessary materials, including untreated lumber or cedar boards for the bed frame, galvanized screws or nails, a level, a measuring tape, a shovel or spade, a weed barrier (optional), and soil amendments such as compost and organic matter.
Prepare the Area: Clear the selected area of any grass, weeds, or debris. Level the ground using a shovel or spade to ensure stability for the raised bed.
Construct the Bed Frame: Assemble the bed frame using the selected lumber or cedar boards. Cut the boards to the desired length and connect them at the corners using galvanized screws or nails. Use a level to ensure the frame is even.
Install Weed Barrier (Optional): To minimize weed growth, consider laying a weed barrier inside the bed before adding soil. This can be a layer of landscape fabric or cardboard.
Fill with Soil: Fill the raised bed with a mixture of quality garden soil, compost, and organic matter. Aim for a well-draining, nutrient-rich soil blend to promote healthy plant growth.
Plant and Maintain: Now that your raised bed is ready, you can start planting your desired vegetables, herbs, or flowers. Regularly water, fertilize, and monitor your plants' health, making adjustments as necessary.
When choosing what type of material to use for your raised bed, it’s important to select something that will stand the test of time and weather. Common materials used are wood, stone, metal, or plastic.
For example, wood is one of the most popular choices because it is affordable and can be customized with a variety of stains or painted colors.
Stone will last longer than wood but can also be expensive if you’re looking for large quantities. Metal and plastic are both durable options as well but may not fit into every budget.

Next, decide on the size of your bed based on how much space you have available and what types of plants you plan on growing. Raised beds come in all shapes and sizes so take into account any particular needs that certain plants may have such as sunlight exposure or drainage requirements when choosing your size.
How to Build Your Flower Bed from a Scratch:
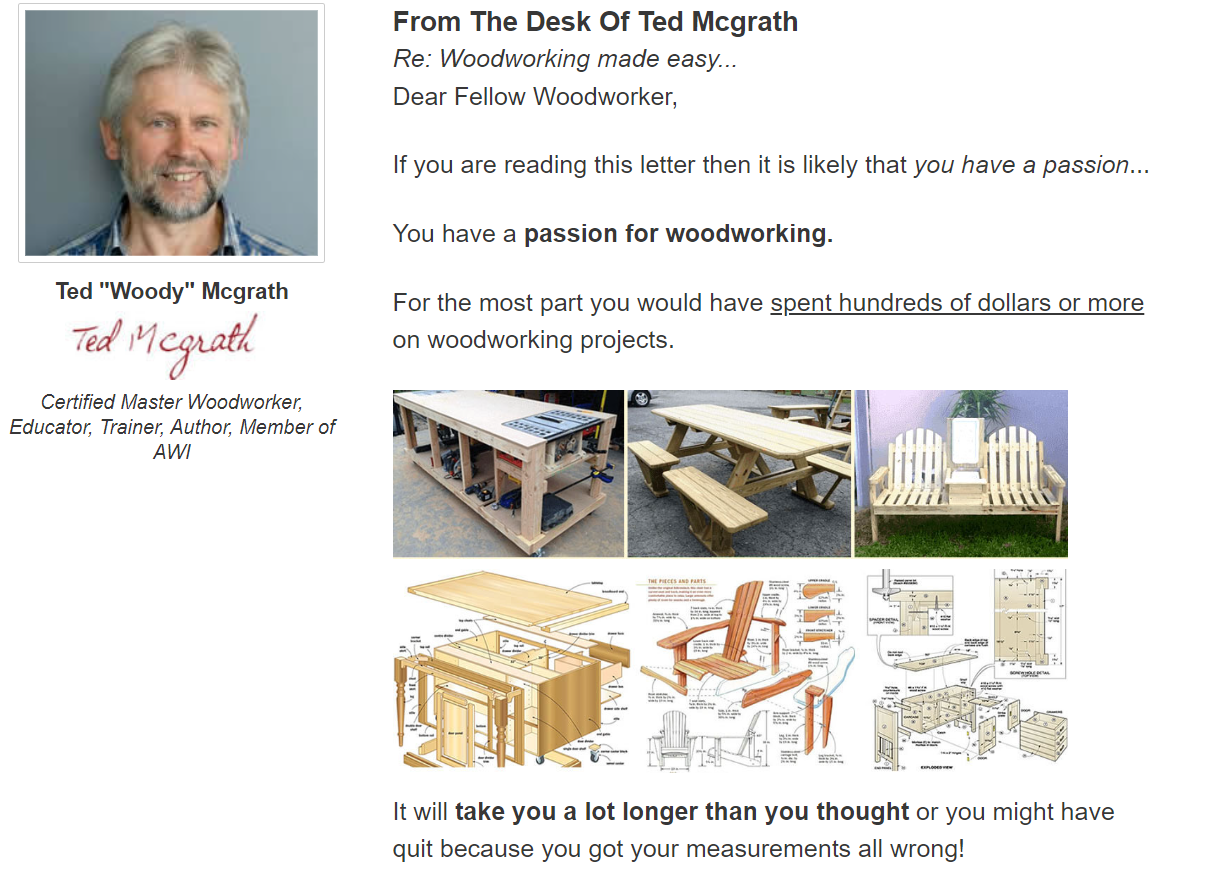
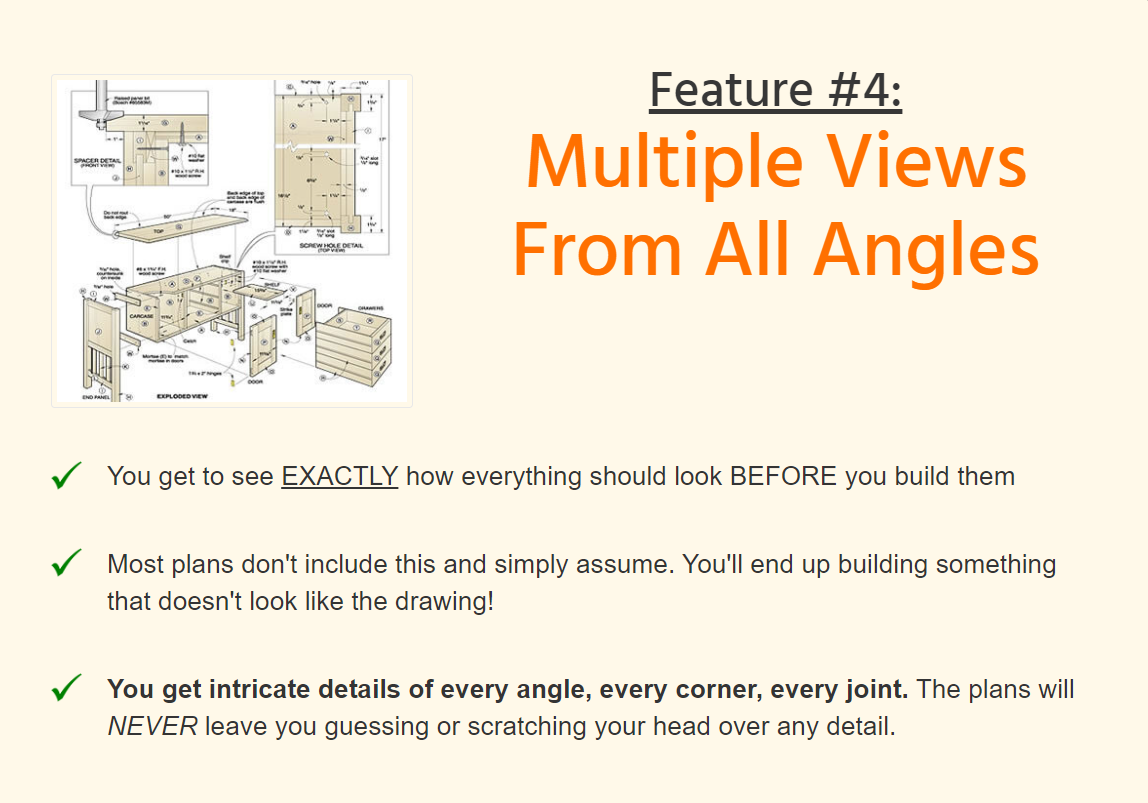
The World's Largest Collection of 16,000 Woodworking Plans
If you are more interested to develop your woodworking skill check out Teds Woodworking Free Video Classes with Free Lifetime Updates:
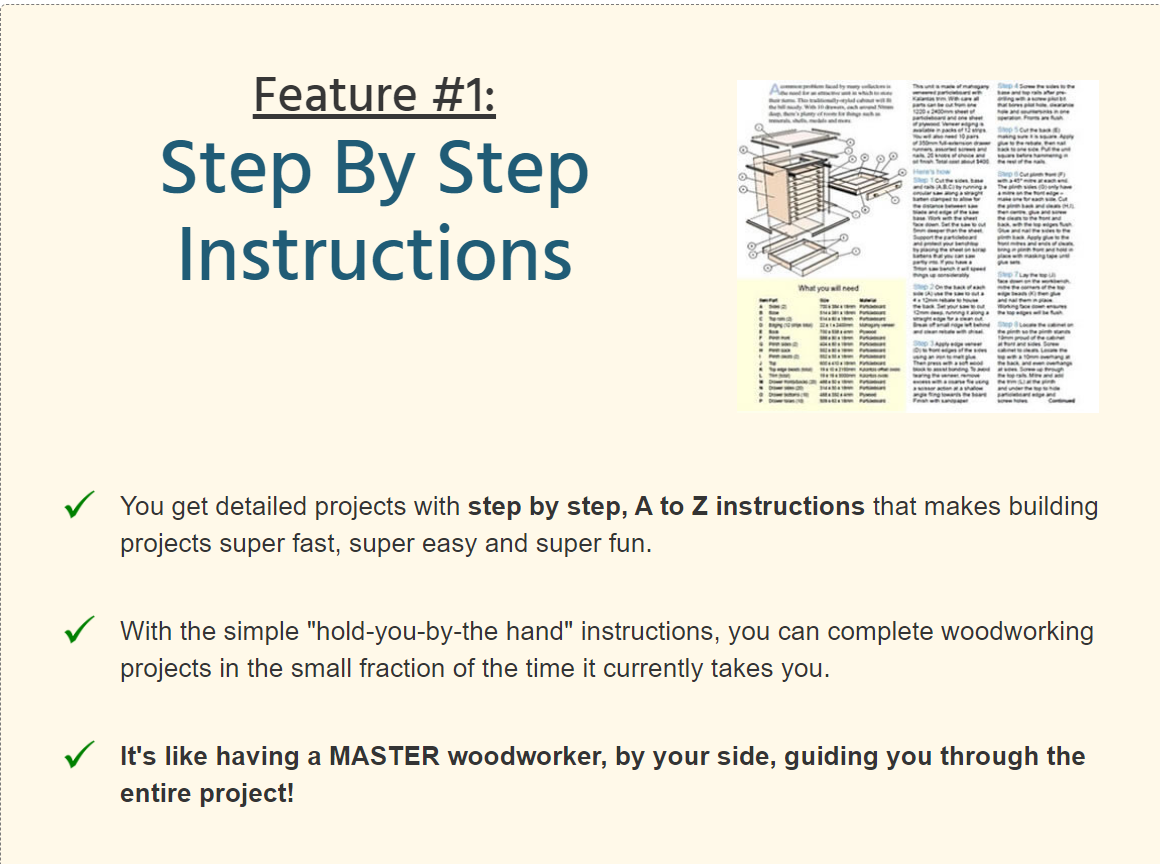
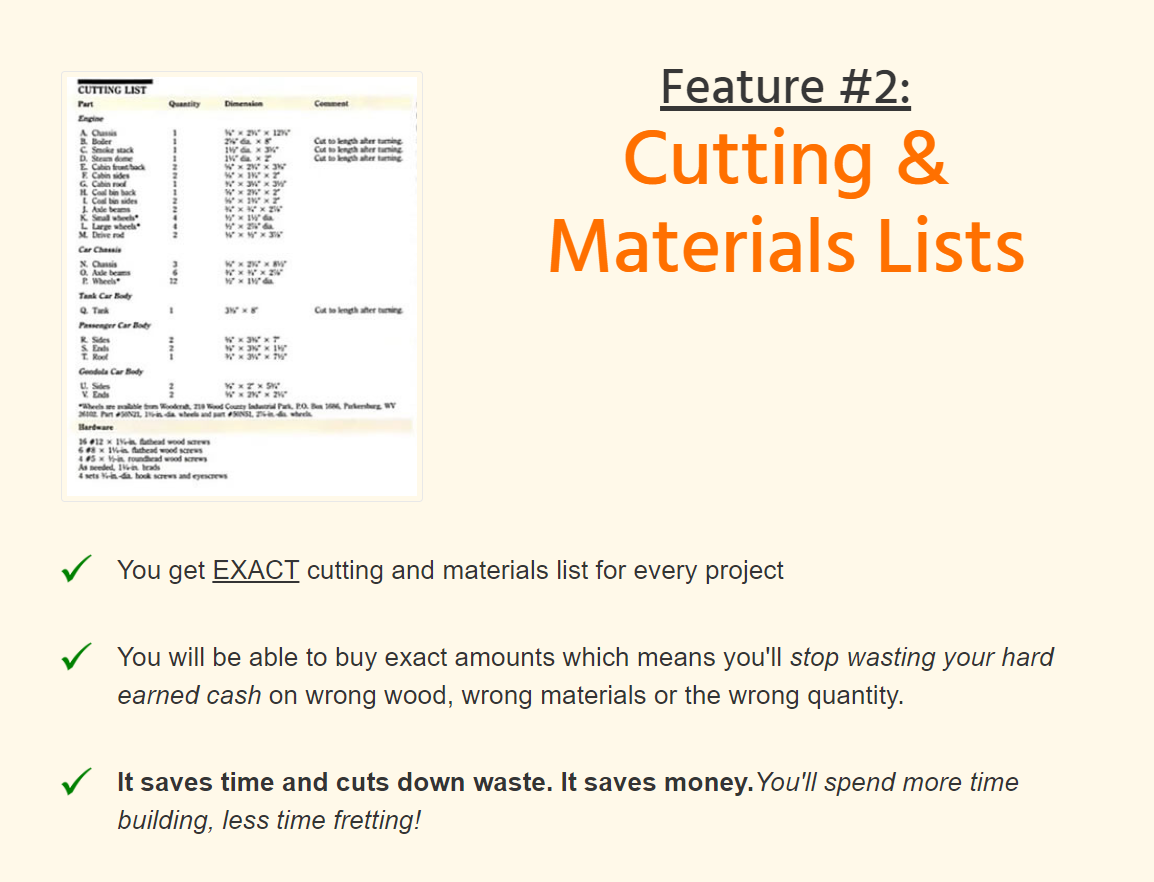
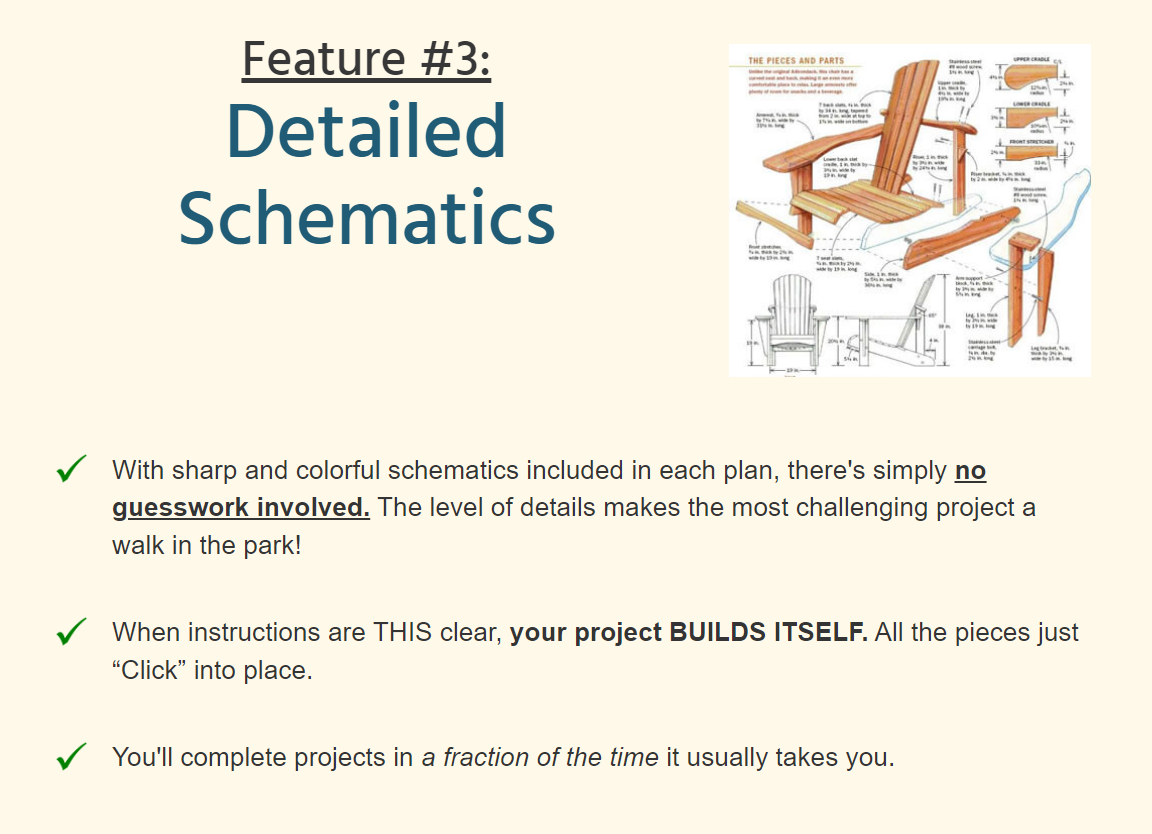
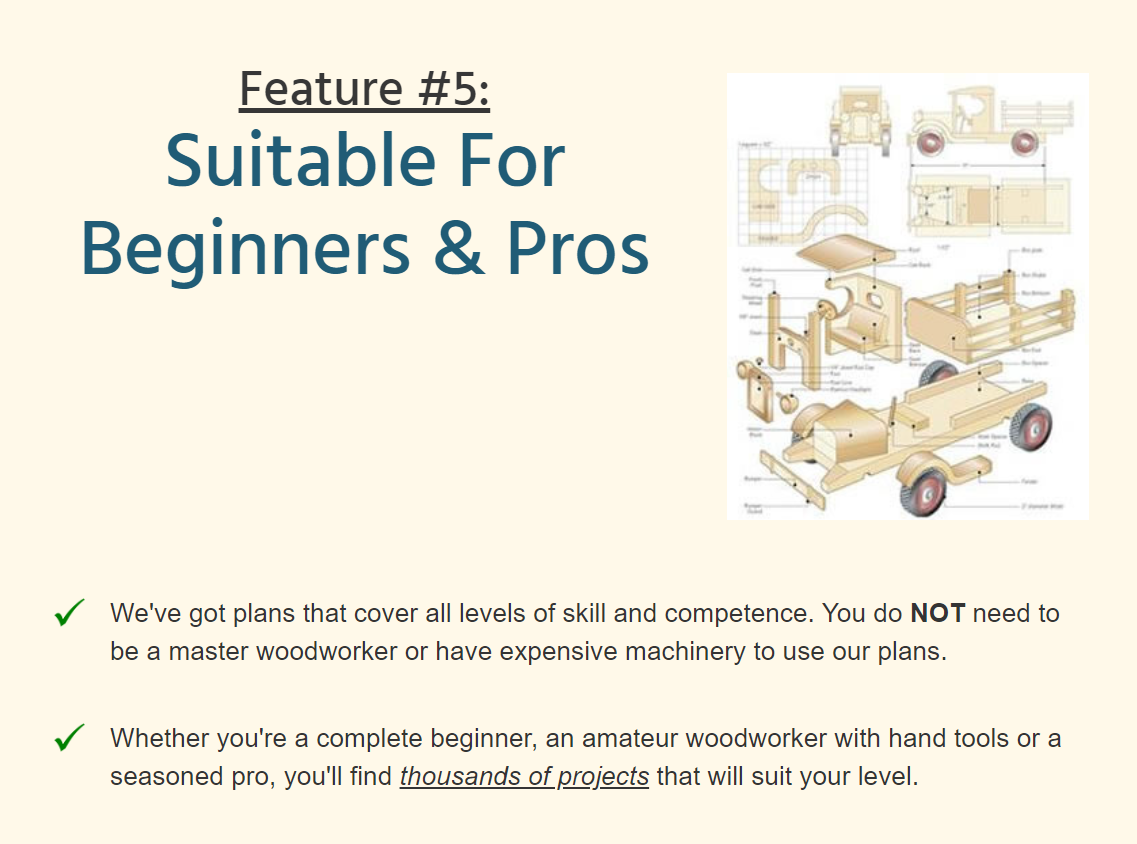
This is What You Will Get and More:
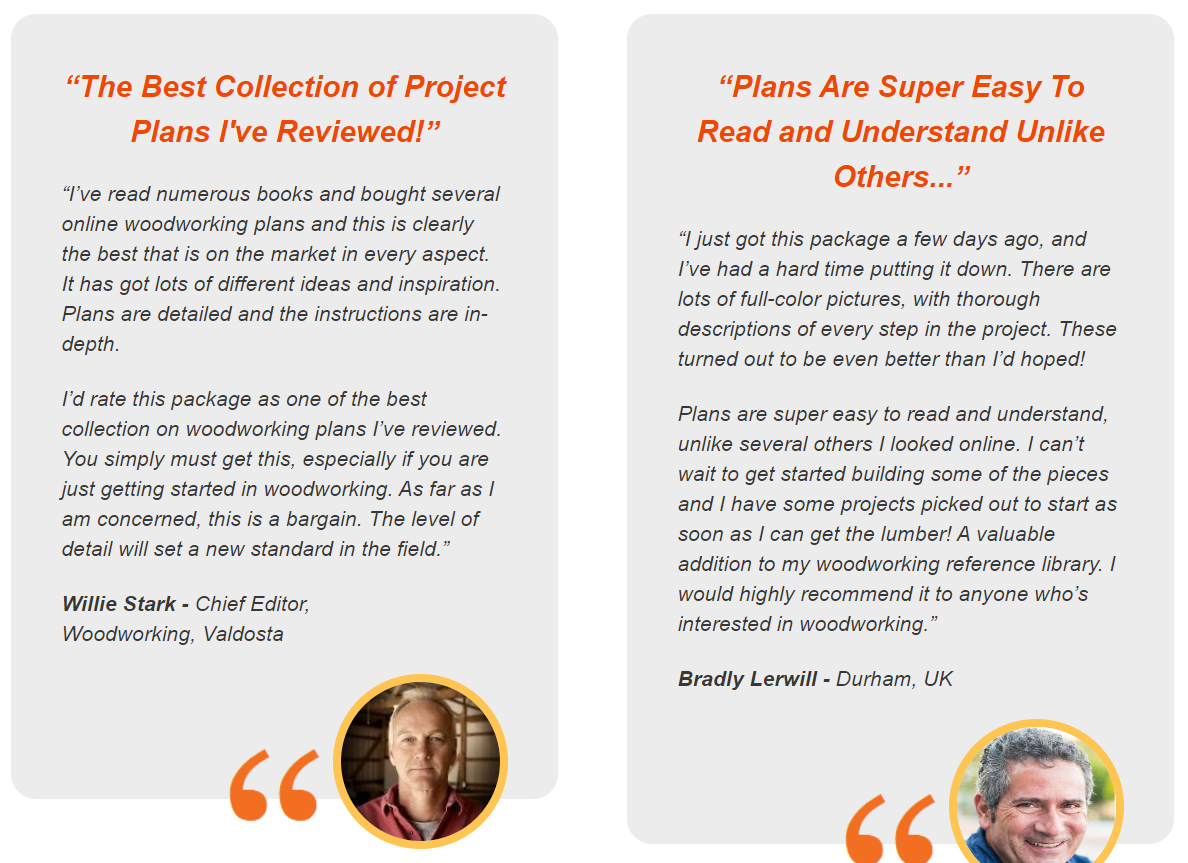
Here is What Customers Have to Say:

TEDS WOODWORKING GUIDE FOR BEGINNERS OR ADVANCED WOODWORKING
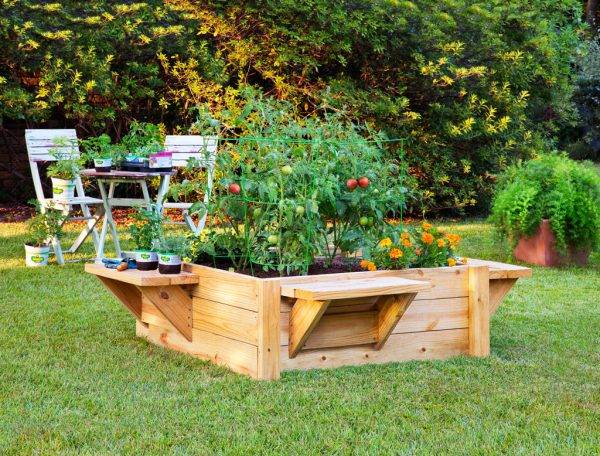
Step By Step Preparation on Building a Raised Bed Garden
Step 1: Start by selecting the material you’d like to use for your garden furniture such as pine, cedar, redwood, or pressure-treated pine lumber. Pressure treated lumber will provide the longest-lasting frame and should be used if cost isn’t an issue while cedar may be better suited in areas with high dampness.
Step 2: Cut all pieces of lumber based on the dimensions of the size you want your bed to be using either a circular saw or miter saw depending on what cuts are needed for each type of wood being used throughout the project (i.e., if angled cuts are needed, then use miter).
Step 3: Assemble all cut pieces into four frames that make up two sides of the bed (each side consisting of two boards) with screws at all joints making sure everything is square and level before moving onto>>>
Step 4: Connecting these four frames together in an “X” configuration via screws from corner joint down into next board securing them in place by hammering until tight against wood fibers; this provides extra strength when installing flowers & soil later on in project).
Step 5: Place landscape fabric over entire area ensuring it lays flat without binding up anywhere so when dirt is added it keeps weeds away but still allows rainwater & nutrients through; secure this fabric down at corners & sides using a staple gun after checking the fabric one last time making sure no bubbles exist anywhere near fasten points where staples need go).
Step 6: Fill Bed with Soil: Add bags soil type appropriate plants/vegetables being planted along edges creating little “hills” promoting root system growth & water drainage towards center while adding more soil afterwards (mulch optional); flatten out top layer surface once finished applying fertilizer according directions ensuring enough nutrition around roots before planting starts.
Pros and Cons of Raised Bed Gardens:
Pros:
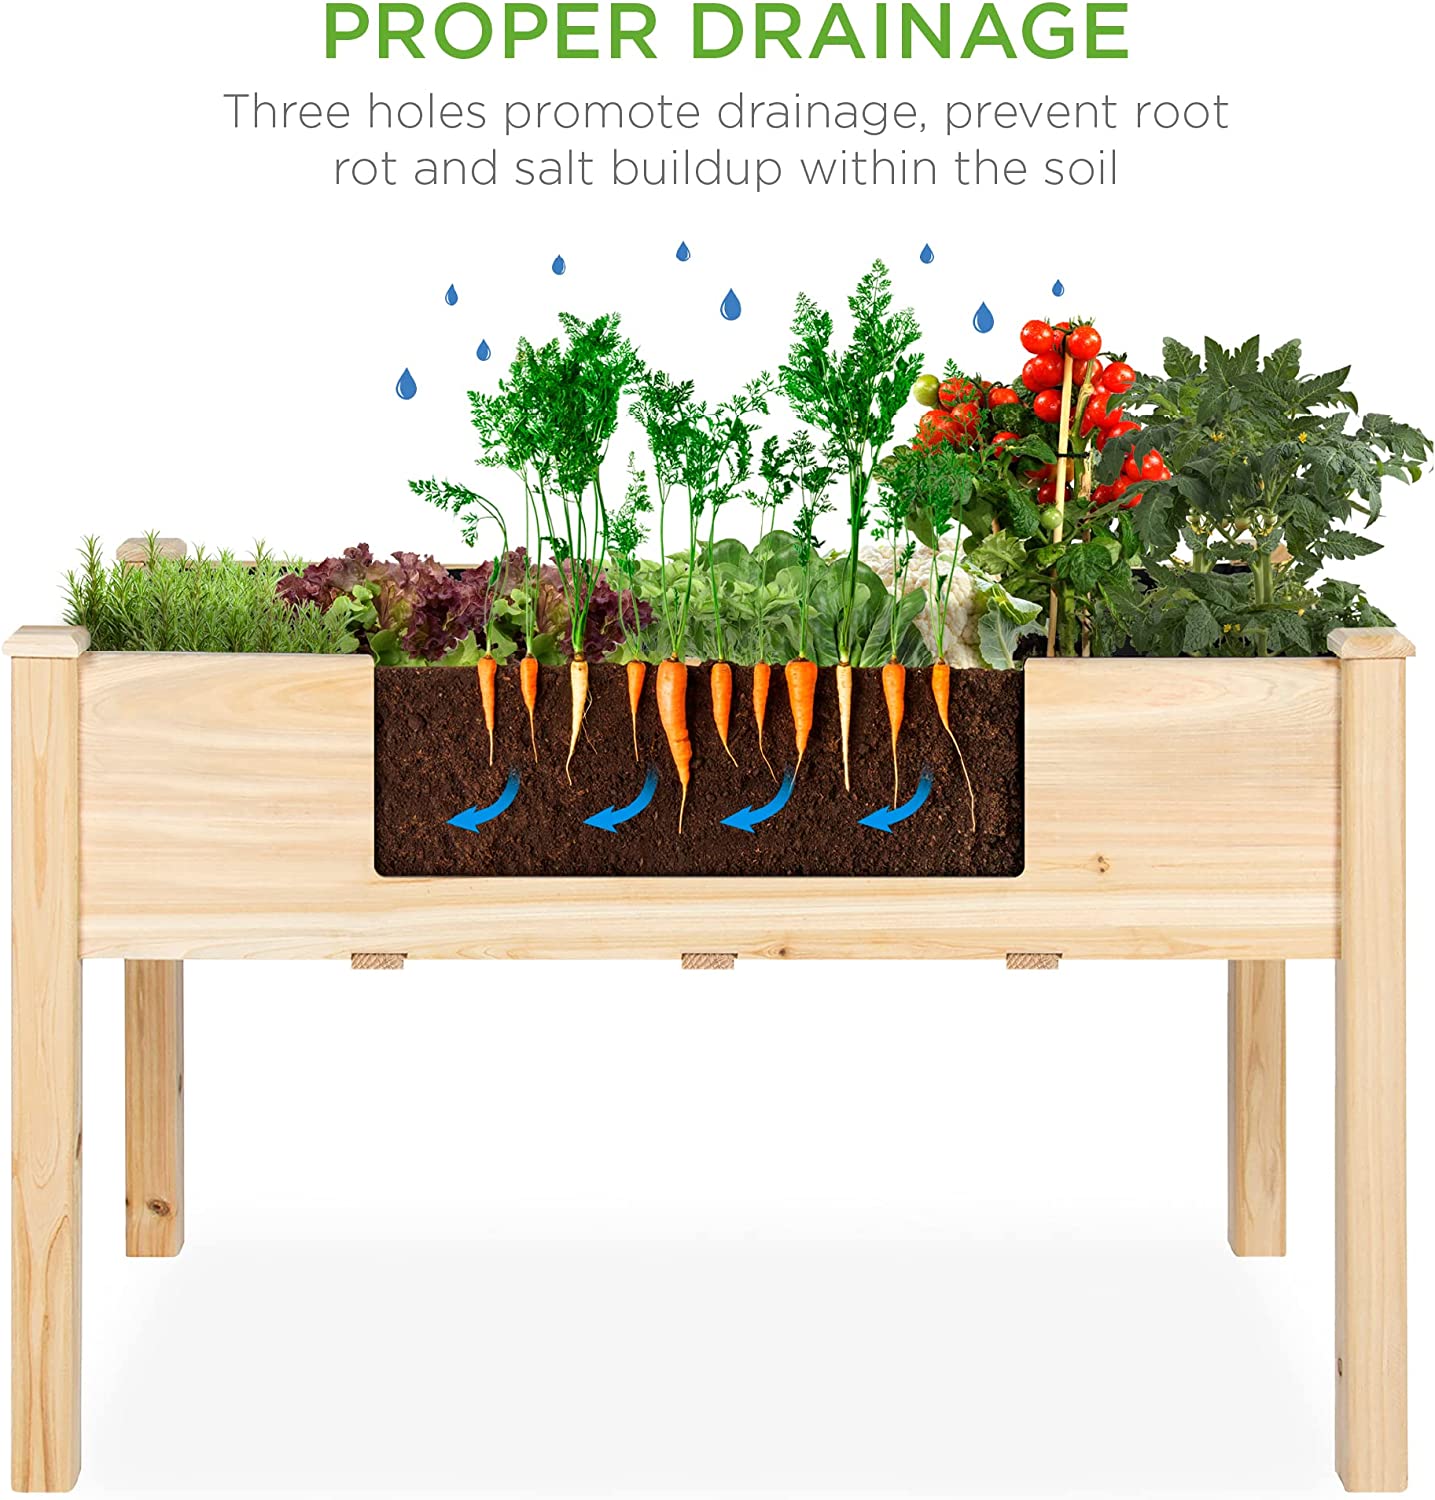
- Improved Drainage: Raised beds allow excess water to drain more efficiently, preventing waterlogged soil and root rot.
- Enhanced Soil Quality: Raised beds provide an opportunity to create a customized soil mix, ensuring optimal fertility and structure for plant growth.
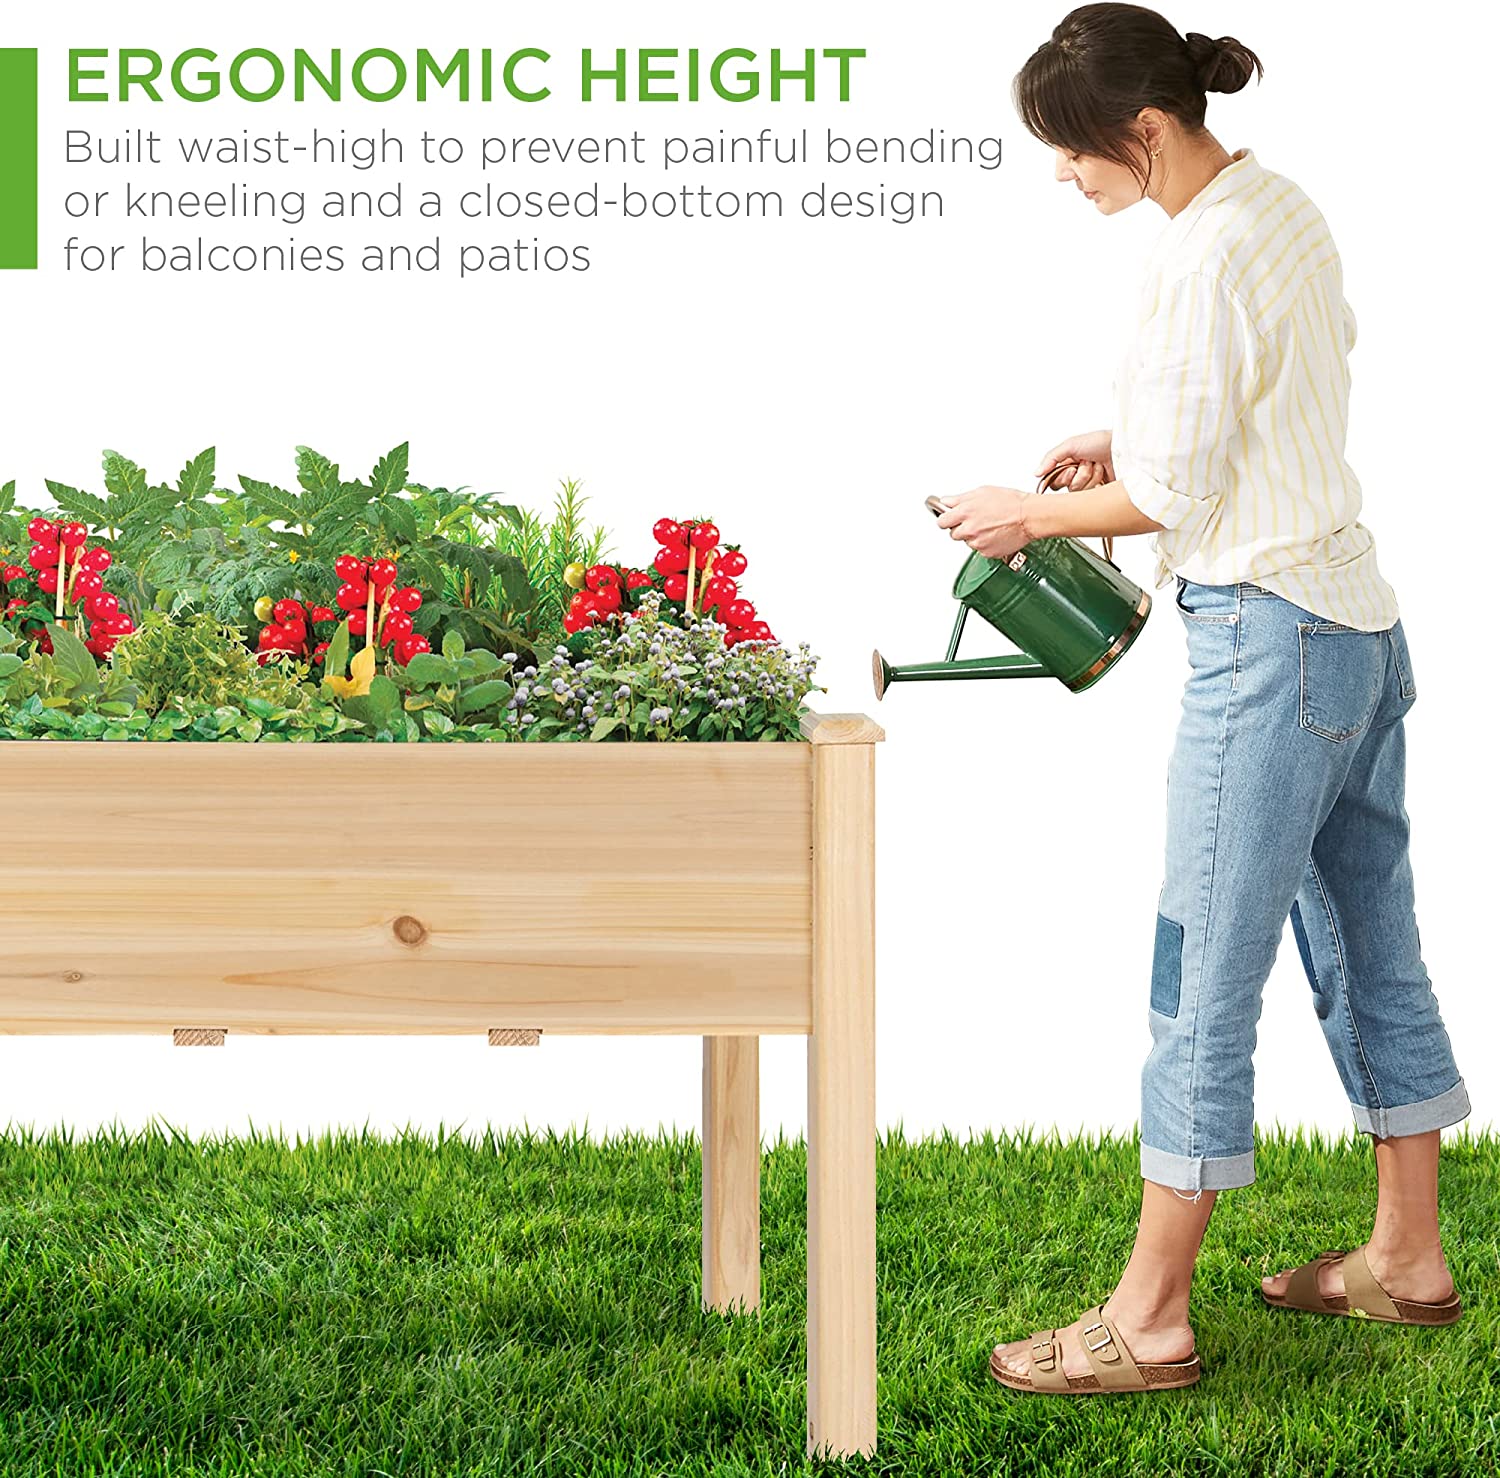
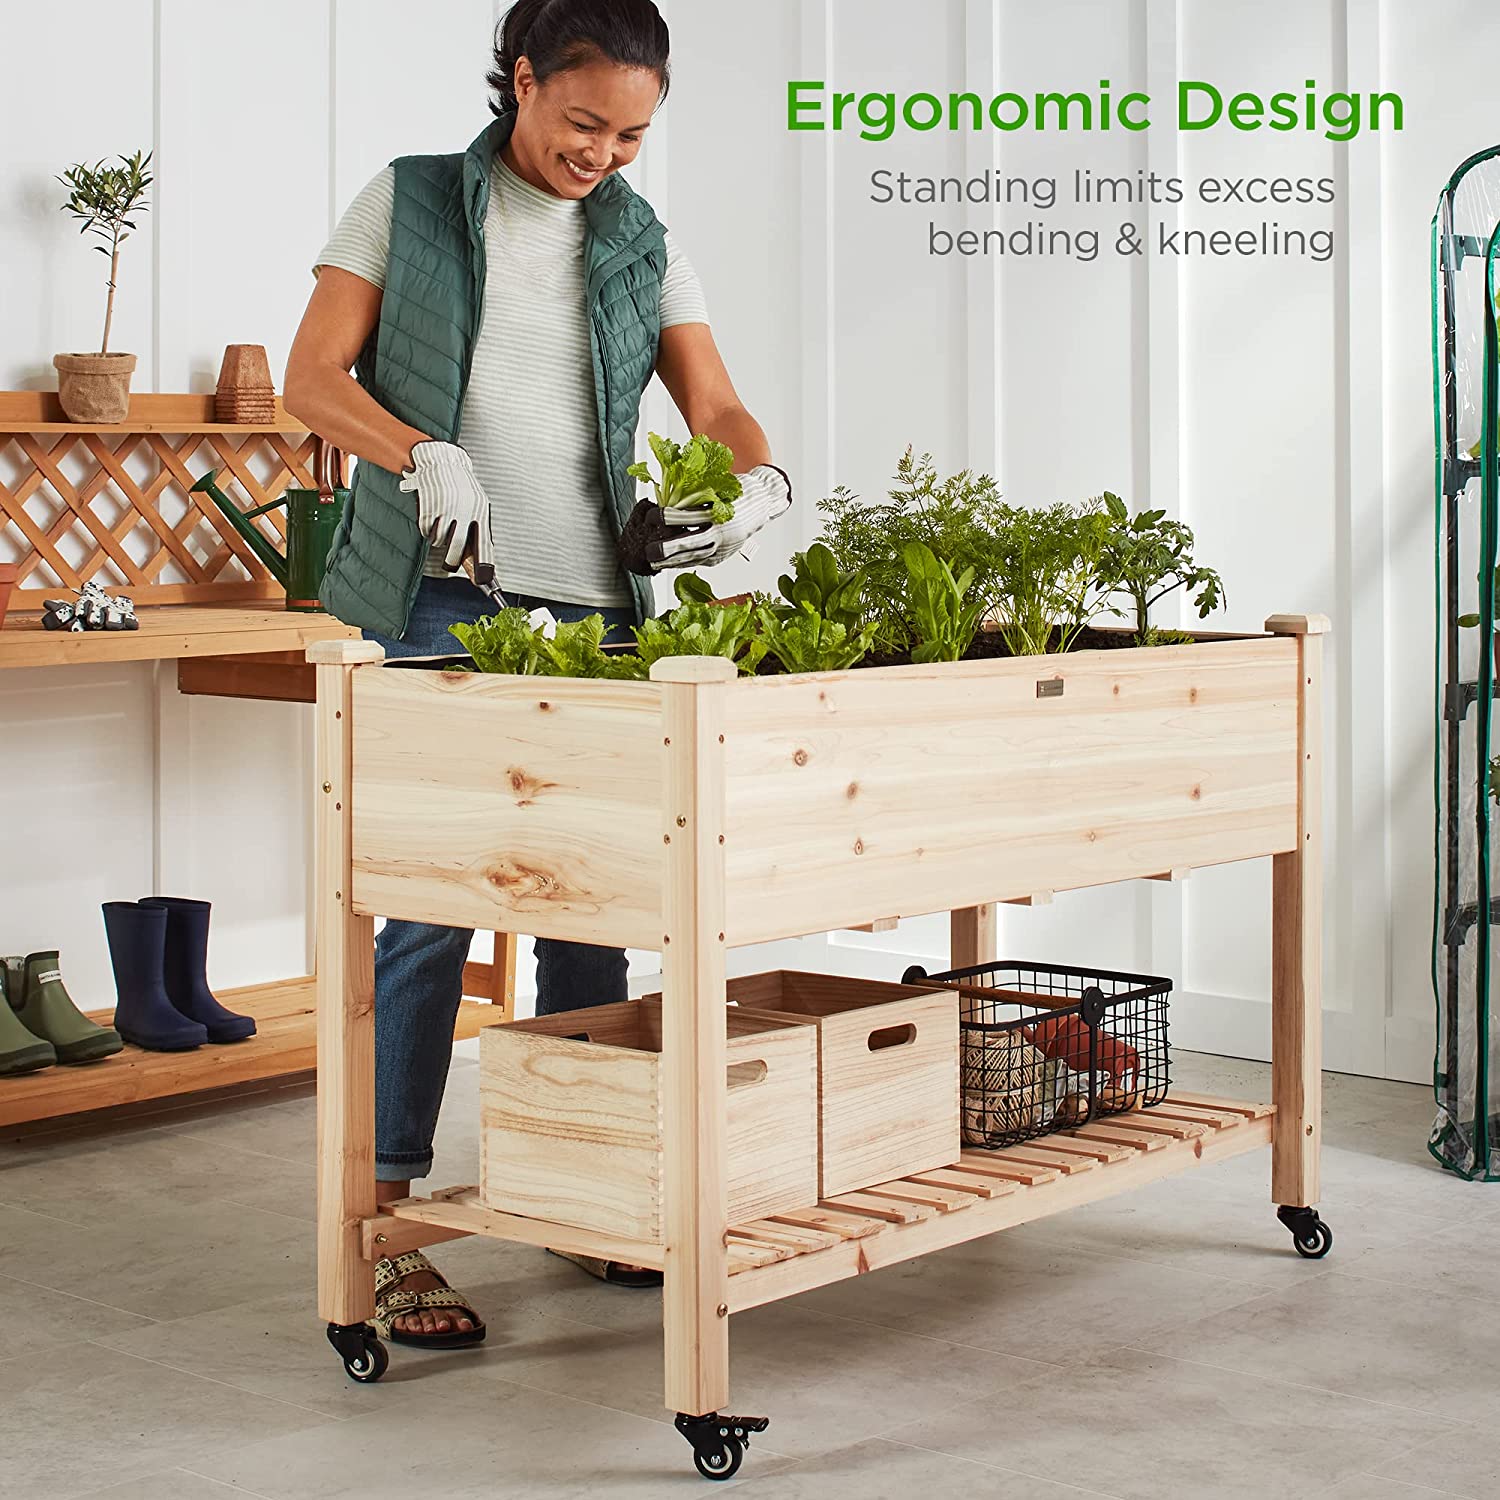
- Easier Access: The raised height of the bed reduces strain on the back and knees, making gardening more comfortable, especially for those with mobility issues.
- Better Pest Control: Raised beds can deter pests like slugs and snails, and they provide a defined space to implement protective measures like netting or row covers.
- Extended Growing Season: The soil in raised beds tends to warm up faster in spring, allowing for an earlier start to the growing season.
Cons:
- Initial Cost: Building a raised bed garden may involve some upfront costs for materials and soil amendments.
- Limited Root Depth: Depending on the bed's height, plants with deep root systems may be constrained.
- Faster Soil Drying: Raised beds can dry out more quickly than ground-level beds, requiring more frequent watering, especially in hot climates.
- Wood Rot: Over time, the wood used for the bed frame may deteriorate due to exposure to moisture, requiring occasional maintenance or replacement.
Prefer to Buy Instead of Build a Raised Bed Garden:
Top 3 Best Raised Bed Gardens on Amazon:
1.Raised Garden Bed, Elevated Wood Planter Box Stand for Backyard, Patio, Balcony w/Bed Liner
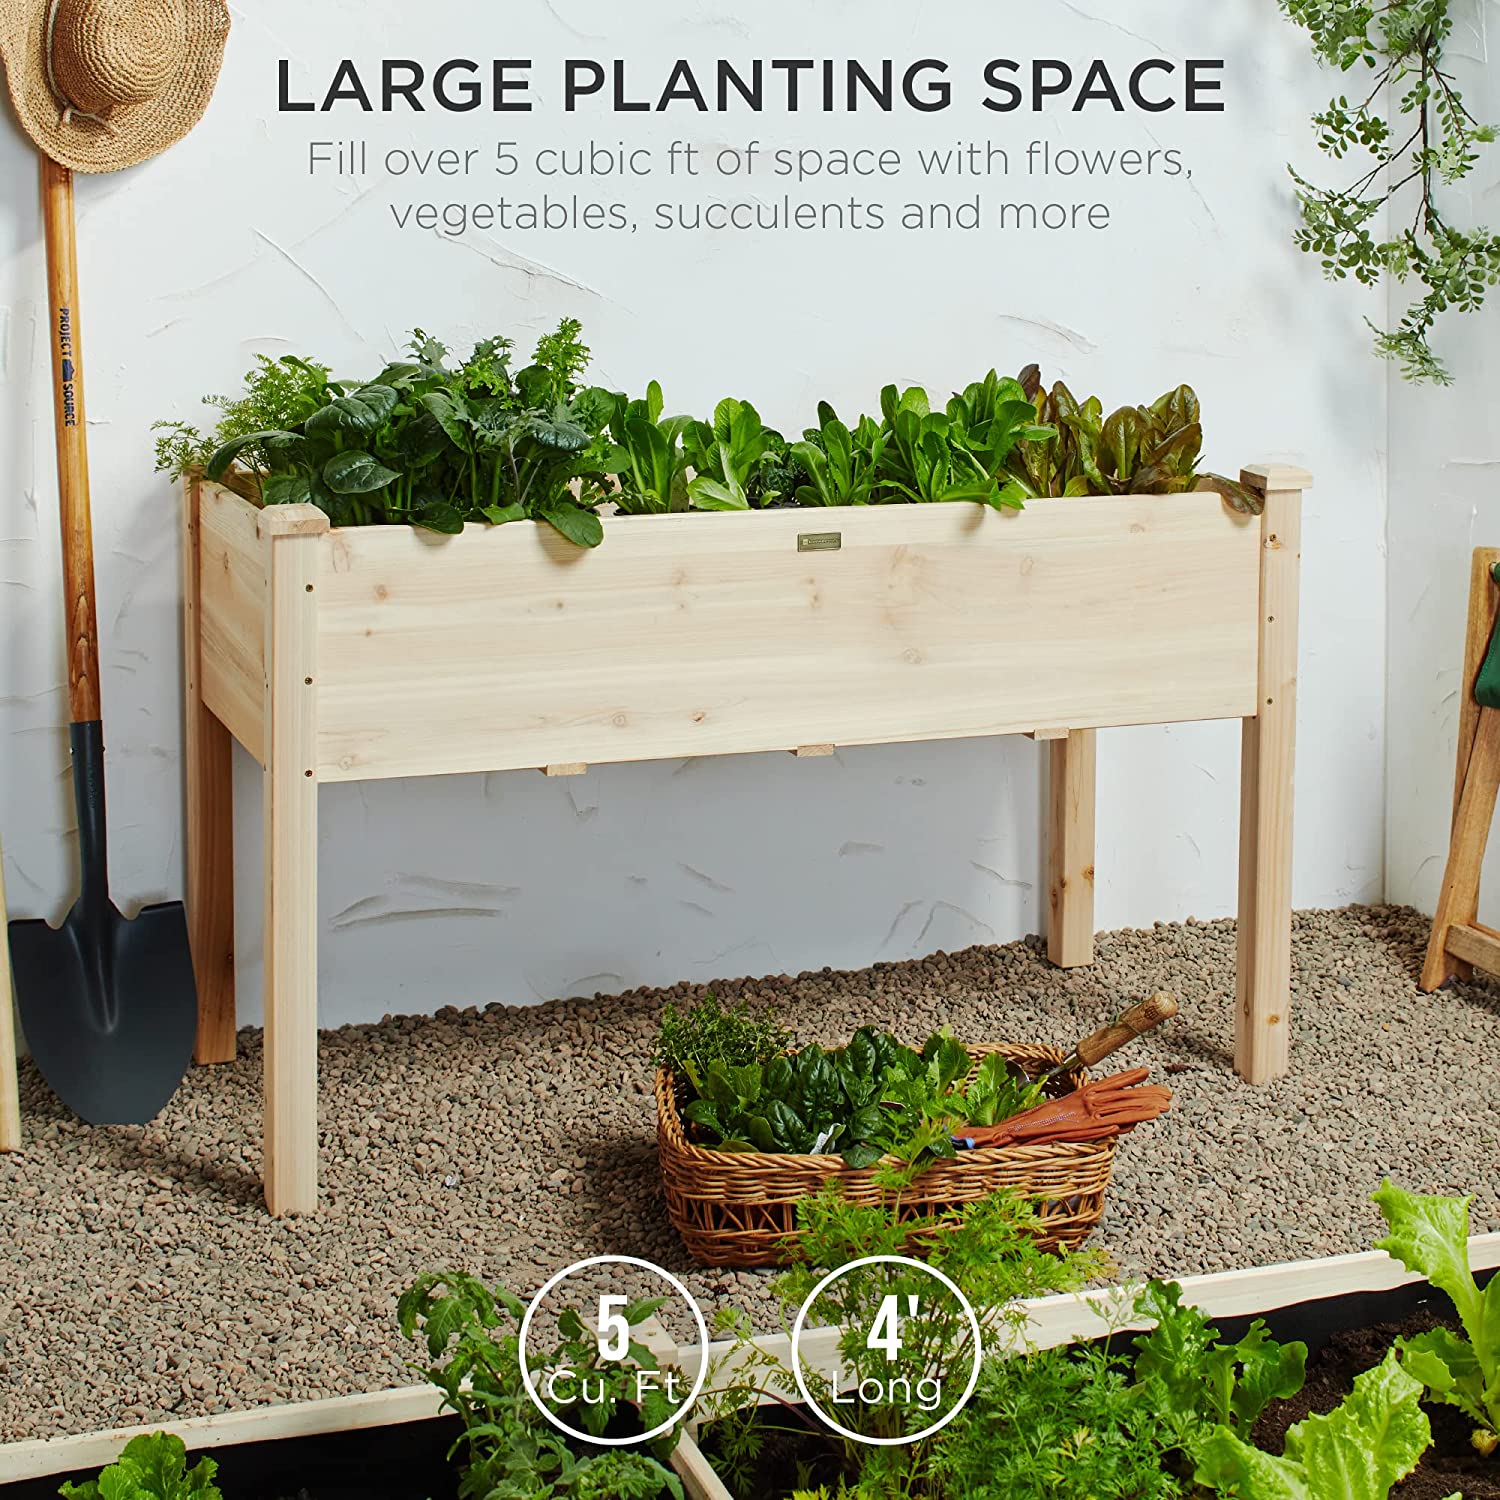
Raised Garden Bed, Elevated Wood Planter Box Stand for Backyard, Patio, Balcony w/Bed Liner
- Designed with a long bed space (5CuFt) deep enough to provide your plants and vegetables with ample room to breathe and grow healthy
- Allows excess water to drain out, keeping soil fresh and protecting plants from waterlogging or mineral buildup
- Naturally durable Chinese fir wood provides a water- and weather-resistant structure while optional foot caps discourage absorption and breakdown
- The 30-inch tall design reduces excessive bending and kneeling to help preserve your back and knees as you tend to your balcony, deck, or patio garden
- Separates wood from the soil, keeping the wooden garden planter in excellent condition and discouraging weeds and animals from interfering with plant growth
2. Elevated Wood Planter Lockable Wheels Storage Shelf Protective Liner
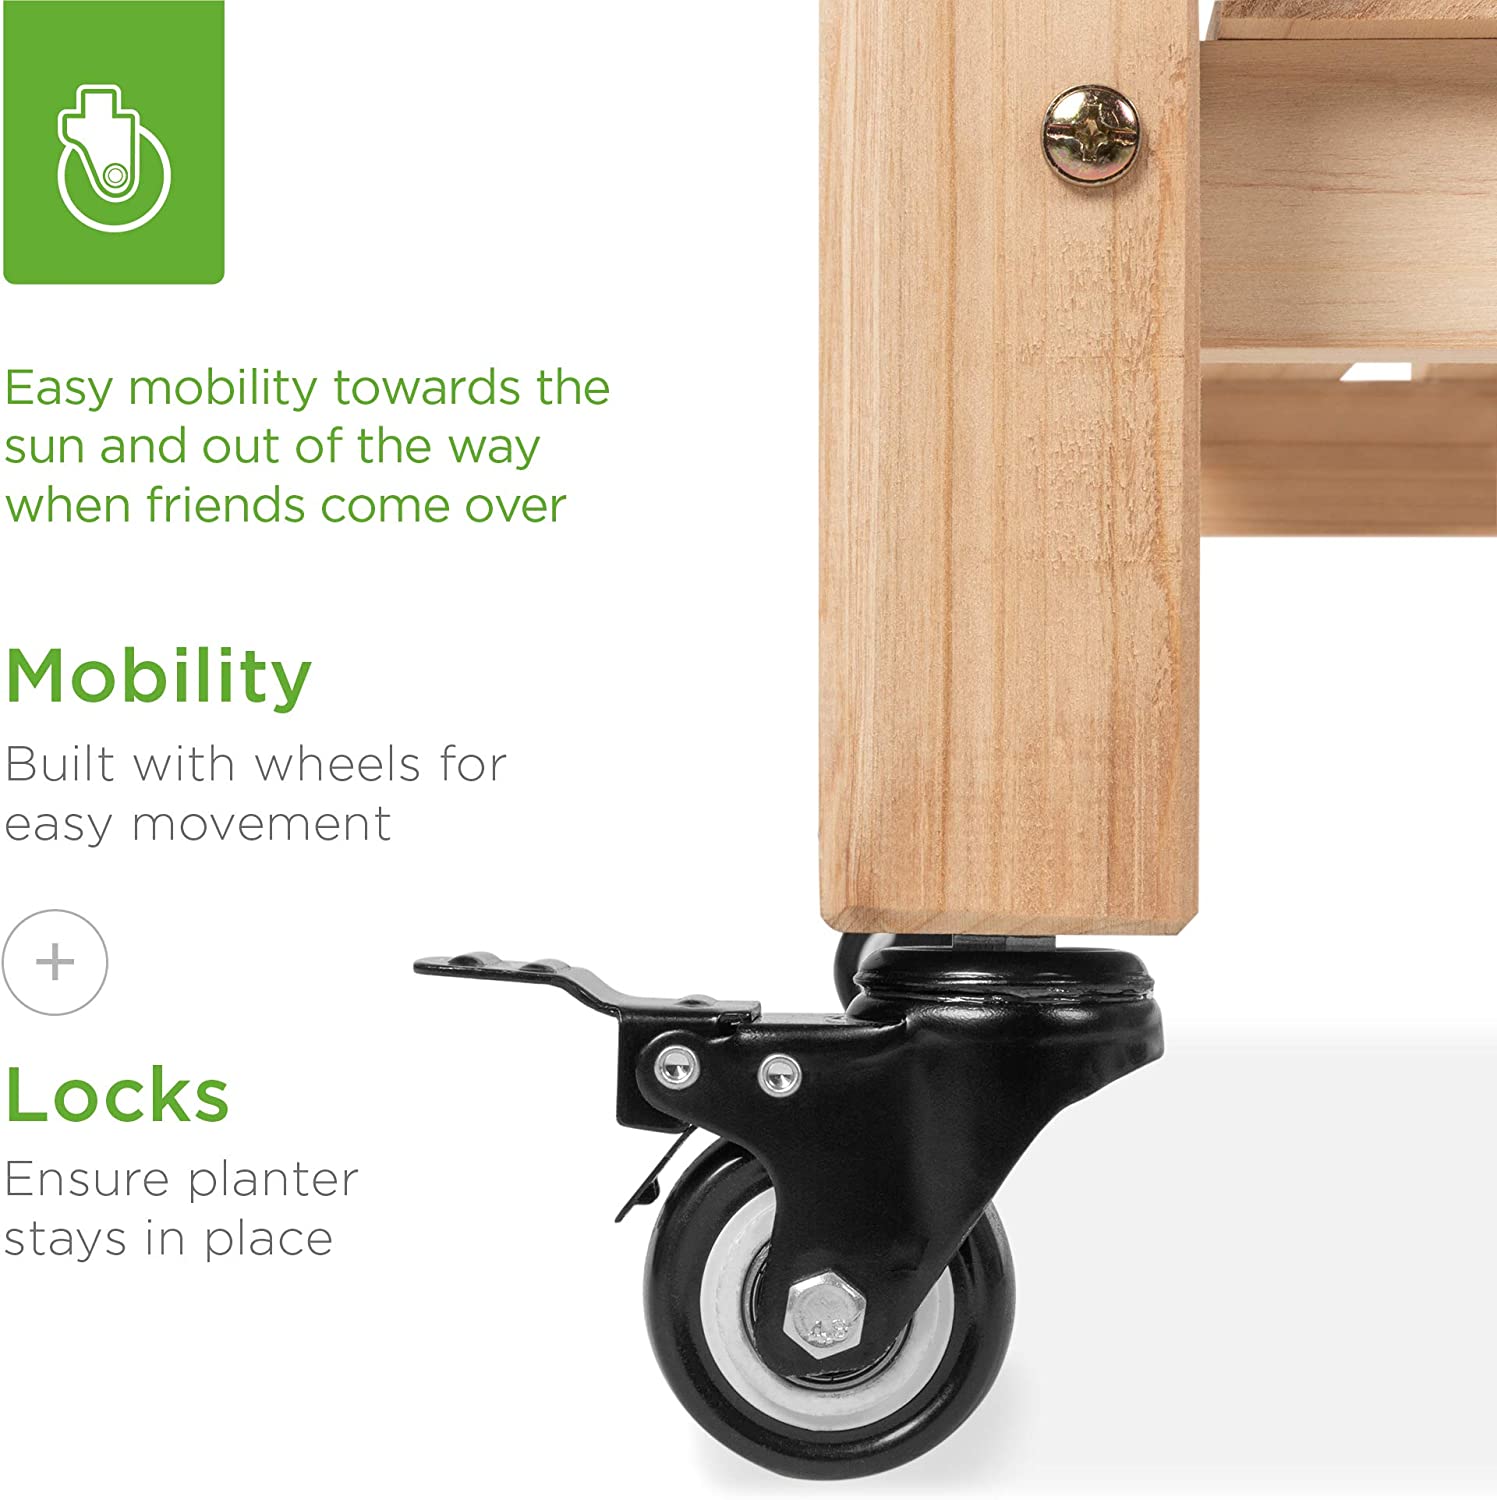
Elevated Wood Planter Lockable Wheels Storage Shelf Protective Liner
- Built with a set of locking wheels to move the planter from place to place and capture the right amounts of sun and shade
- Stands 32 inches tall, making it perfect for those who struggle to bend down or lean over while gardening
- Separates wood from the soil, keeping planter in excellent condition and preventing weeds and other invasive species from interfering with plant growth
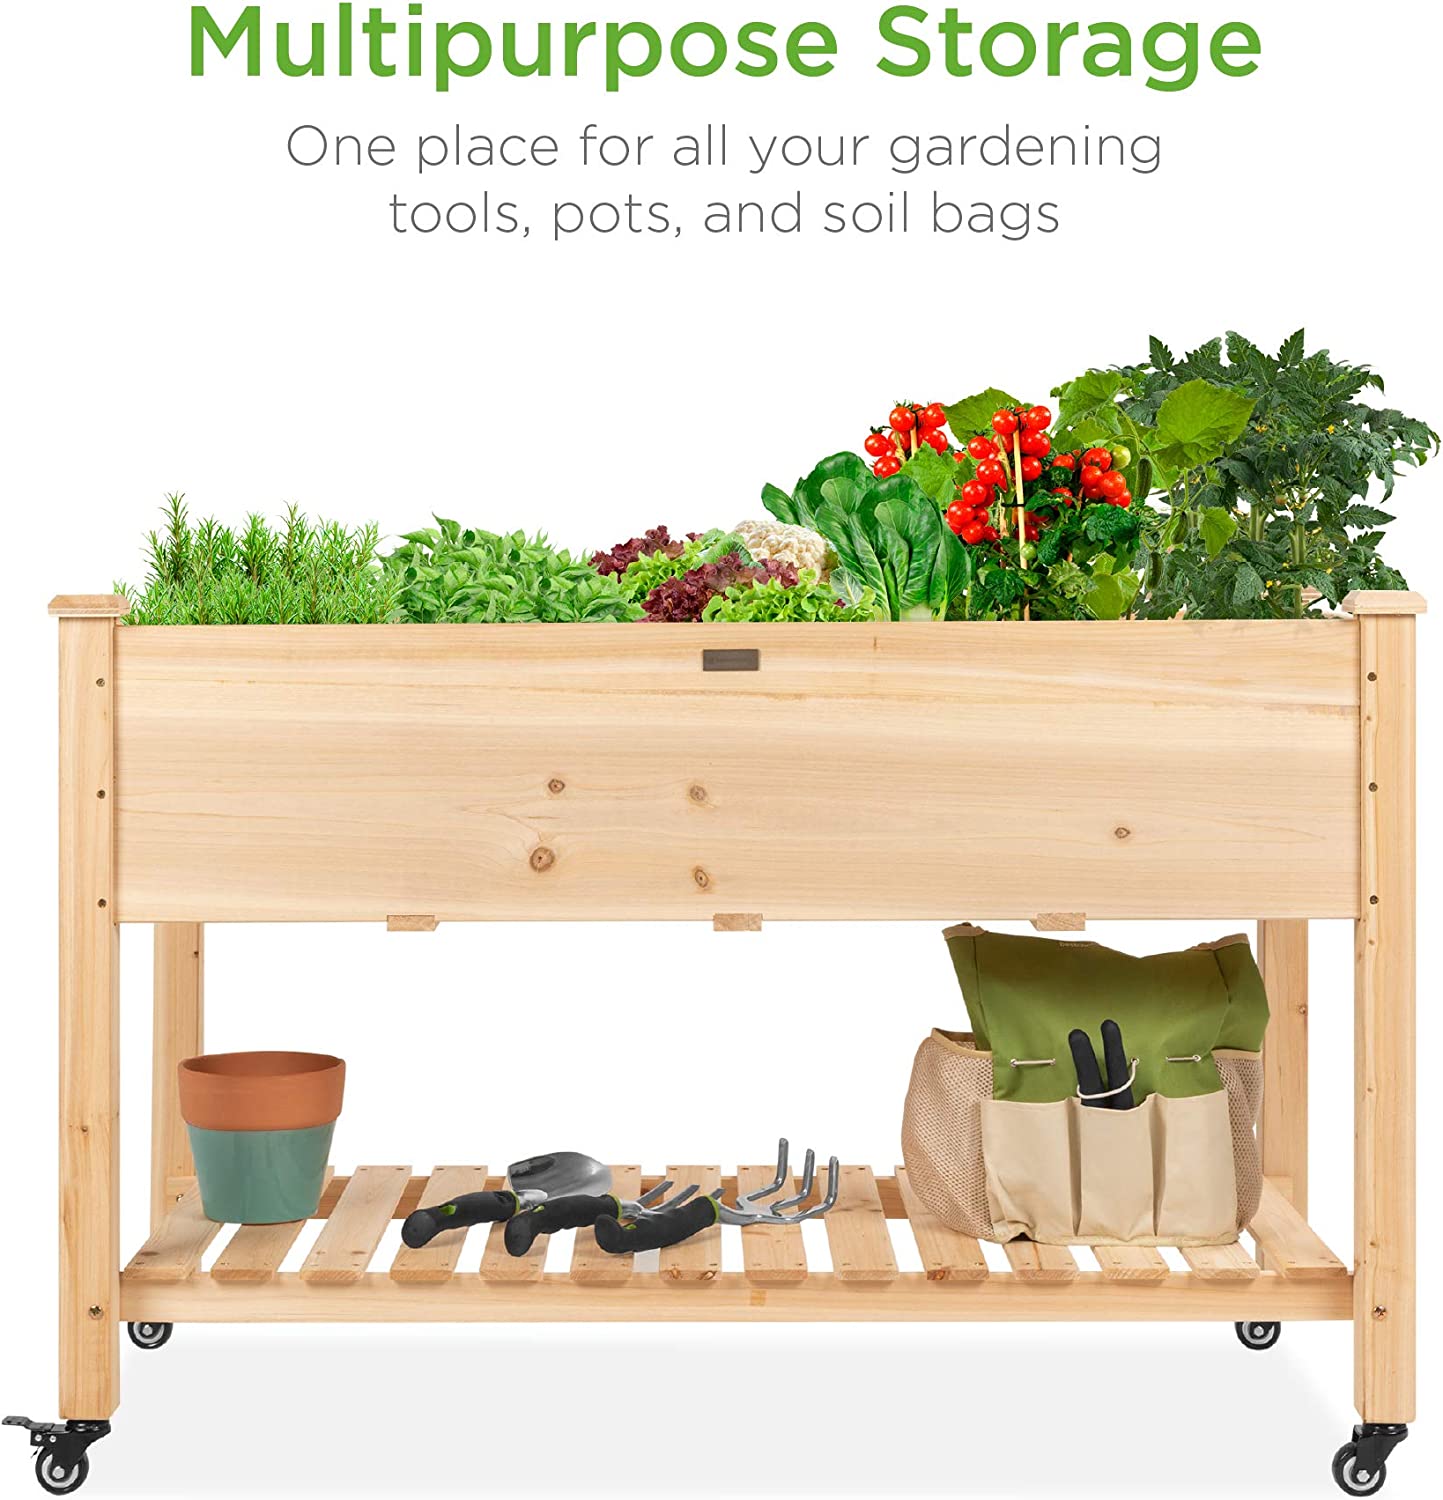
- Get the most out of your planting and storage space thanks to the large bed with a built-in storage shelf for your favorite garden accessories
- Allows excess water to drain out, preventing root breakdown and oversaturation while keeping the soil fresh
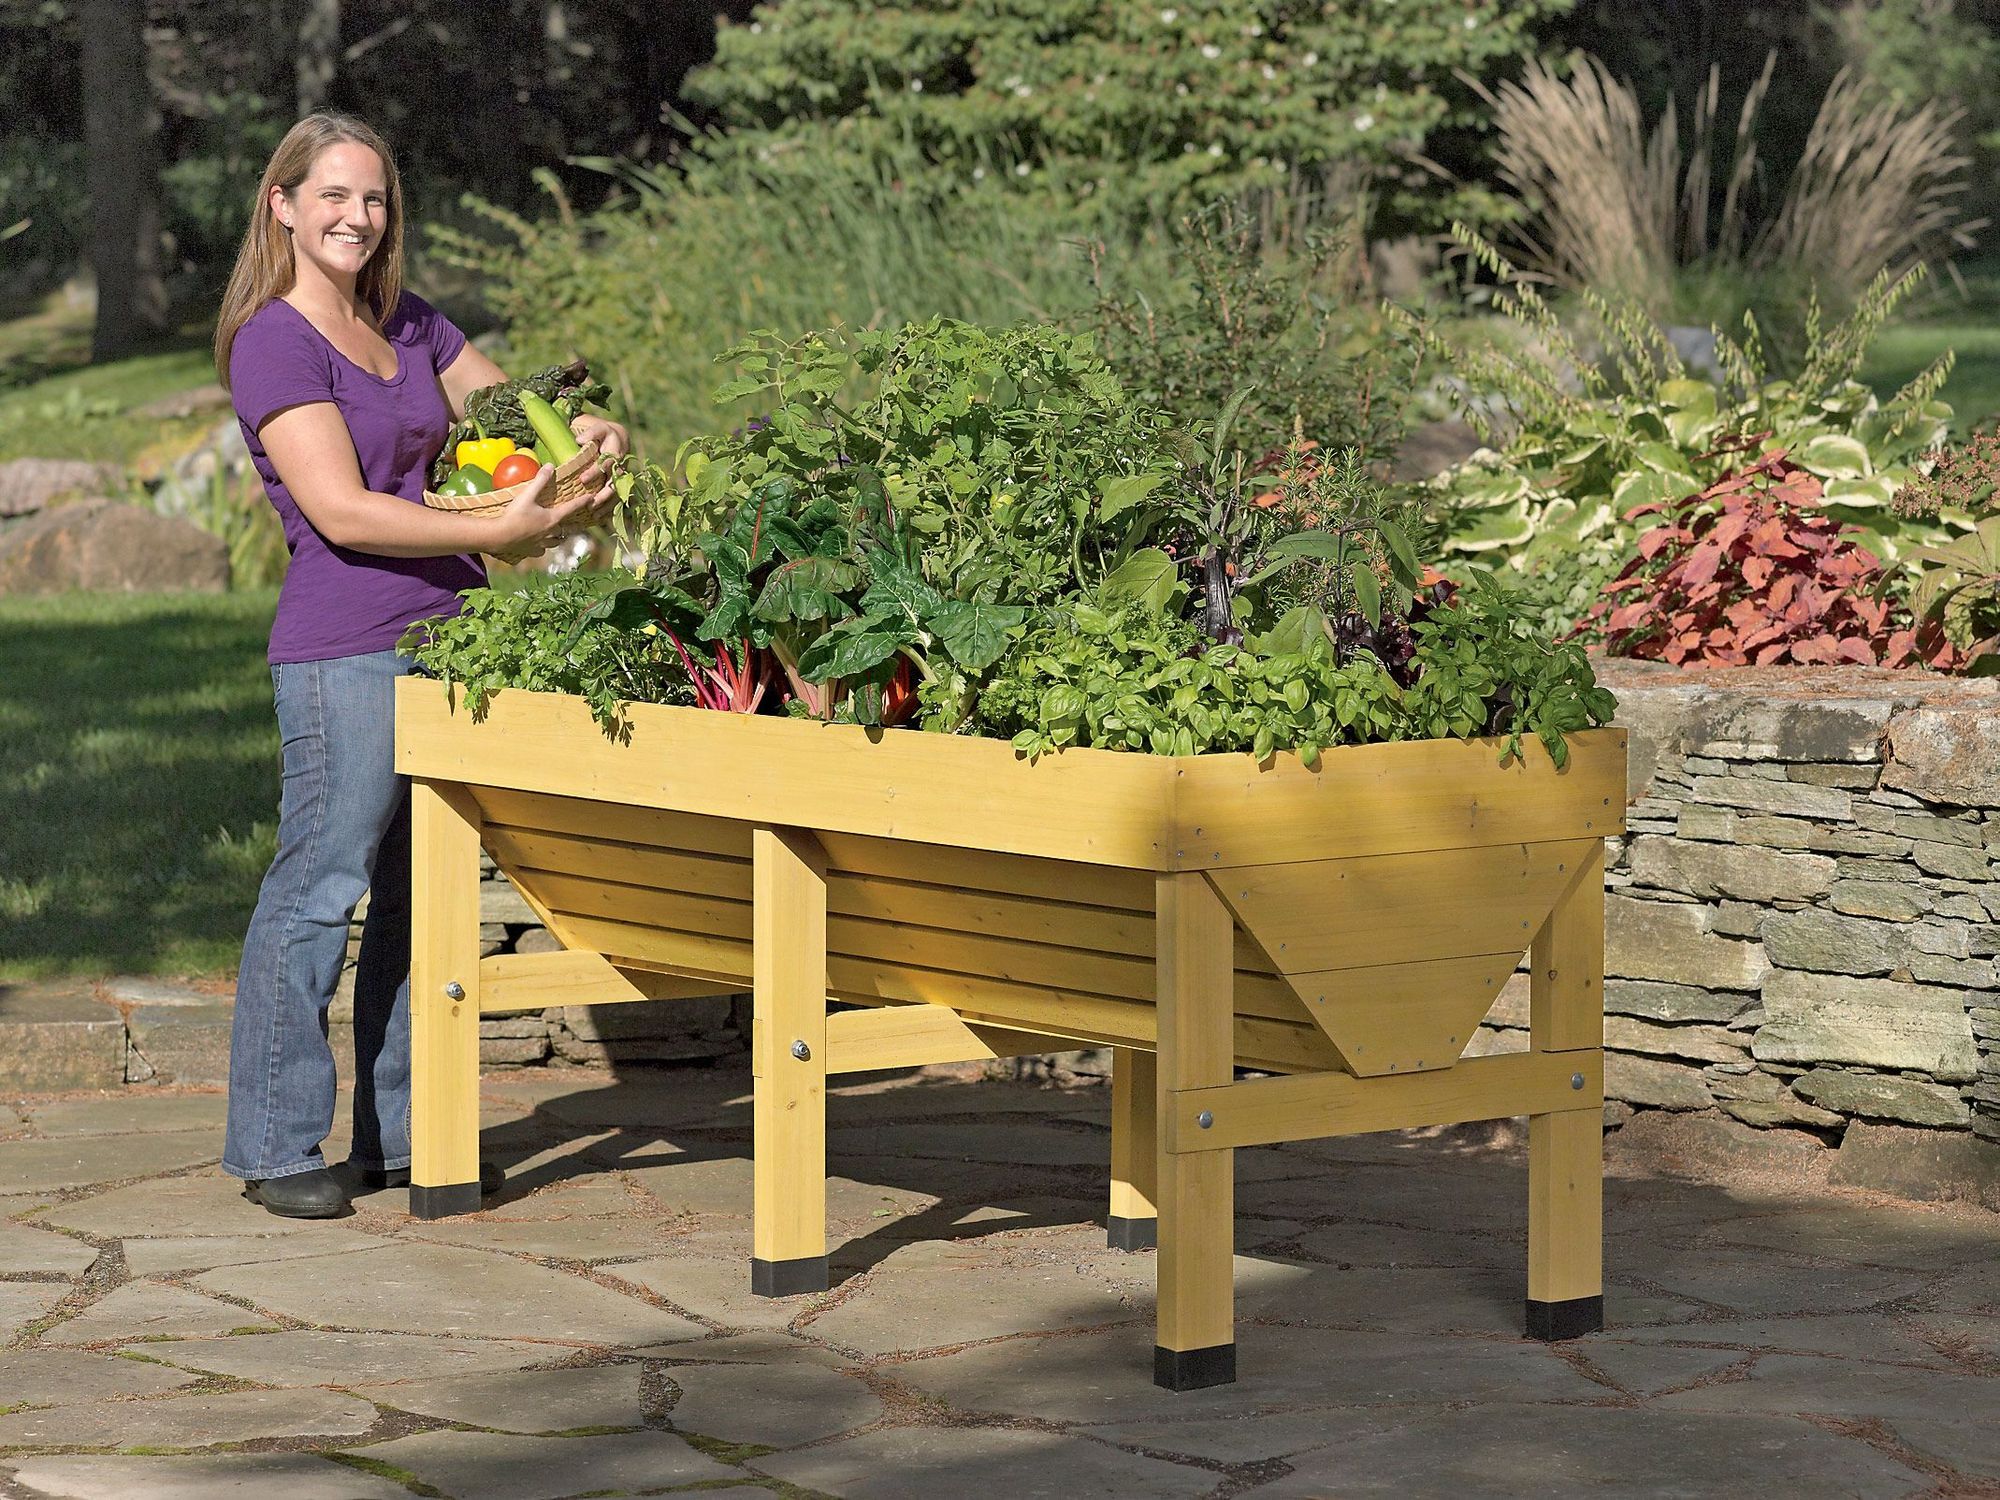
3. Ergonomic Raised Bed Garden Back Yard Terrace Patio
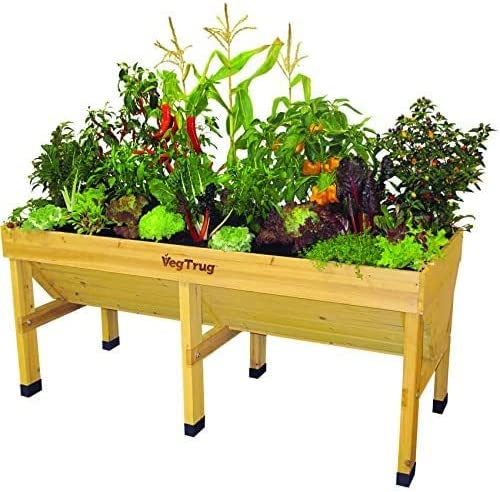
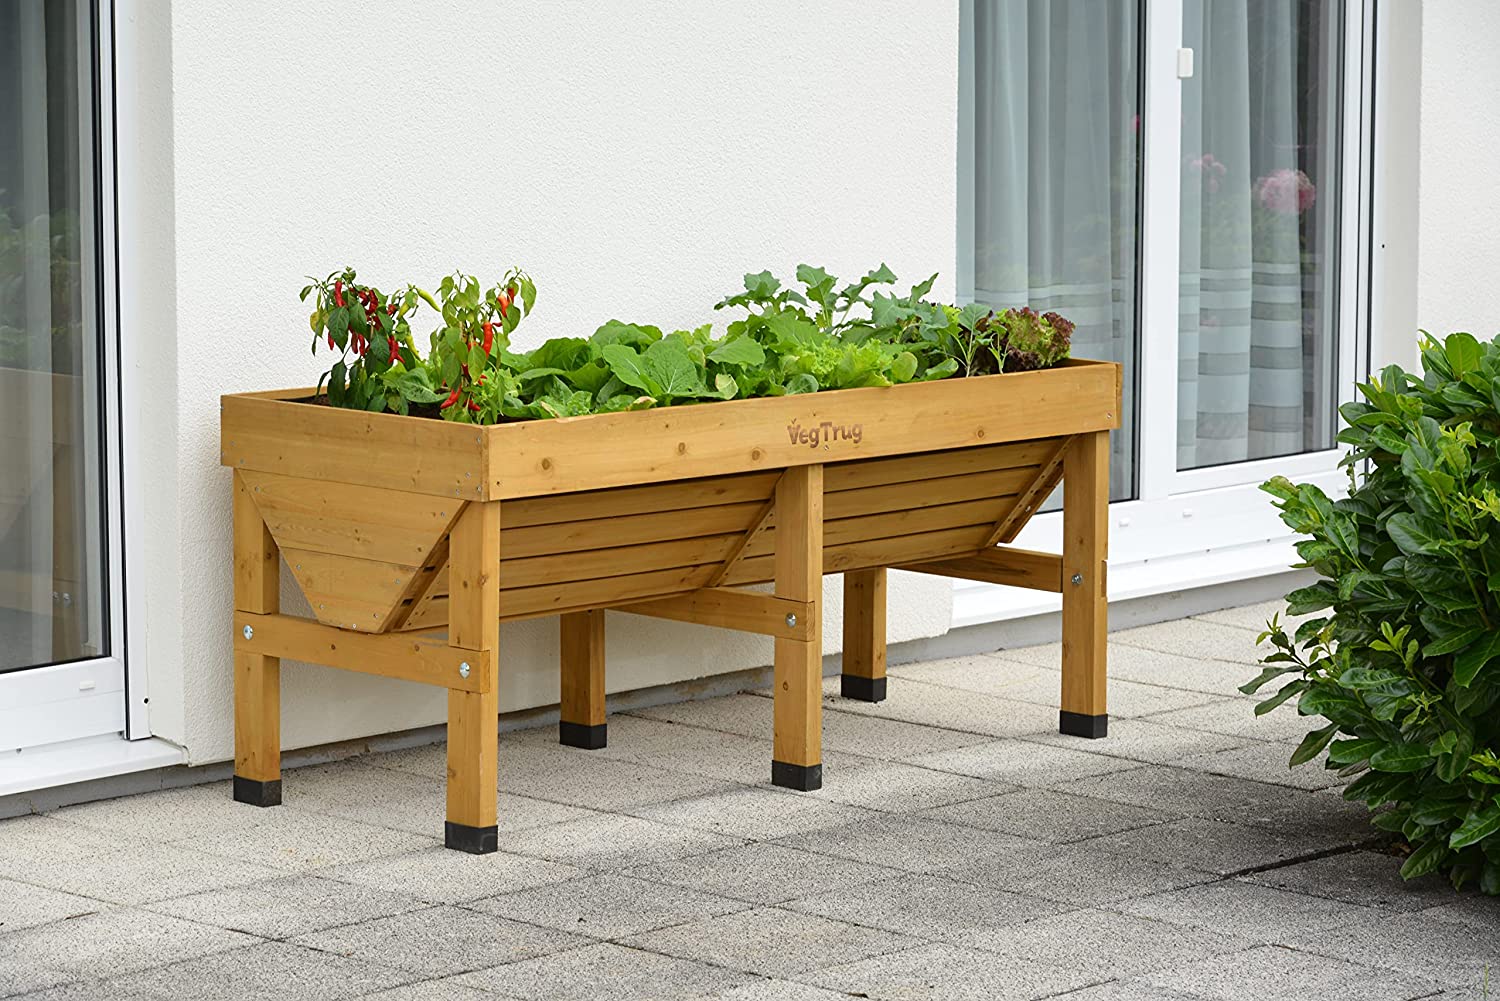
- Easy working height. No more bending or kneeling. Ideal for the elderly and wheelchair users
- Transform small spaces (balcony, small garden space, rooftops)
- Measuring 1.8m, the VegTrug is able to fit into the smallest of garden areas, it allows easy growing and looks attractive.
- With the VegTrug your not restricted to just growing fruit and vegetables, the VegTrug is a great home for any plant and makes a great design feature within a garden.
- Deep V Shape For Deep Rooted Vegetables And Fruits Designed with a deep V-shape to ensure that space is used to its maximum potential allowing you to grow deep-rooted plants like carrots and parsnips in the center and shallow-rooted vegetables including Salads, Strawberries and other fruits and vegetables along the edges. The total Depth of the V section is 42cm.
- Treated With A Food Safe Preservative VegTrug use only food safe preservatives on all of their timber planters so you are safe int the knowledge that no chemicals will leach into your harvest.
Conclusion
Building a raised bed garden can bring life into any outdoor space while providing an enjoyable gardening experience year after year!
With proper planning and consideration for materials used, size needed and other features that may be added it’s easy to create a beautiful container garden tailored specifically for you!
Whether this is your first time creating a raised bed garden or if you’ve been gardening for years these tips are sure to help anyone get started in designing their perfect outdoor oasis!
Happy Woodworking and Gardening!
Relevant Reads>>>
 Mariya Ercoli
 Peter Stevents
 Mariya Ercoli
 Mariya ErcoliPeter Stevents


